


Earlier this week, I migrated my blog from a self-hosted static Jekyll site to Hashnode.
Why?
Jekyll
I've been getting increasingly frustrated using Jekyll to build my personal blog. It's great for what it is, but I don't know or really understand Ruby (nor do I want to at this point), and running updates, installing add-ons or even running it locally always seemed to be problematic. I loved how customisable everything was, but making changes or publishing articles wasn't quick or particularly easy (for me anyway).
In addition to the platform itself, writing articles in neat Markdown wasn't particularly quick either. I love using VSCode for most things, and do most of my technical documentation in Markdown, but adding images is a painfully slow process (create, save locally, reference, commit, push...) and I always like to include lots of pictures in my posts.
What I needed was something quick and easy to use and abuse, and I discovered Hashnode met those requirements.
Hashnode
Hashnode is a free developer blogging platform that allows you to publish articles on your domain and helps you stay connected with a global developer community.
In a nutshell, Hashnode is a free web based blogging platform. You can publish your own articles and read articles from others.
I've discovered that you can customise most of it through the GUI, and can tweak specifics using a custom CSS option, which is really nice.
Just like using your own static site generator, you can create drafts, schedule publishing, publish a backdated post, tweak SEO config, and even bring over your own custom domain, all without any costs.
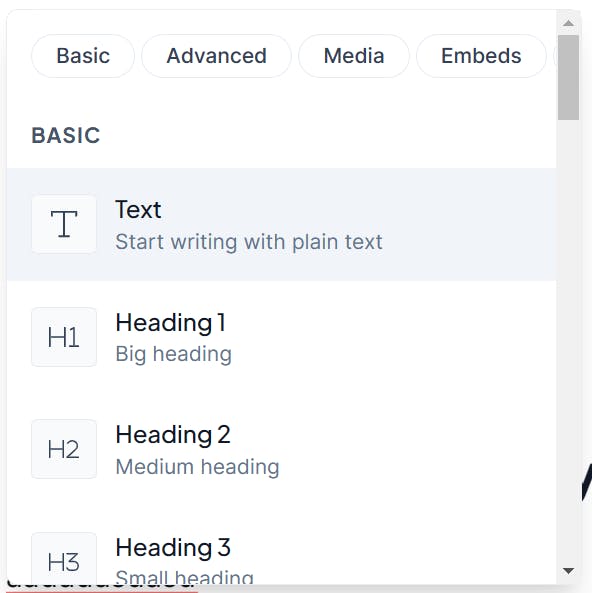
The big thing for me was the authoring experience - such as what I'm experiencing right now as I write this post! I can literally copy and paste text and images, and it keeps the formatting and even hyperlinks. To add styling (such as headings, lists, images, tables, etc) all I need to do is type "/" and a prompt pops up with suggestions.
I've recently discovered you can automatically back up your posts to GitHub for safekeeping!
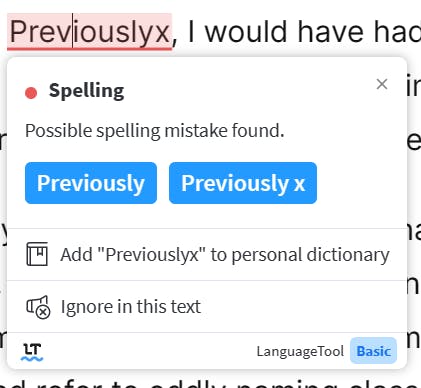
This, in addition to my browser plugin for spell checking, means that authoring is a pleasure.
Previously, I would have had to save all the images I needed locally, apply a naming convention to both the files and the post, reference the images in the Markdown, use a VSCode specific spell-checker, commit, triggering a pipeline, and so on and so on. You get the point!
All I need to do now is write, proofread, and click Publish.

It's worth mentioning that there is a Hashnode mobile app - which makes a big difference to authoring articles on the fly. It's not like writing Markdown, committing it to a repo and kickstarting a deployment pipeline were easy from a phone, so this is a game changer.
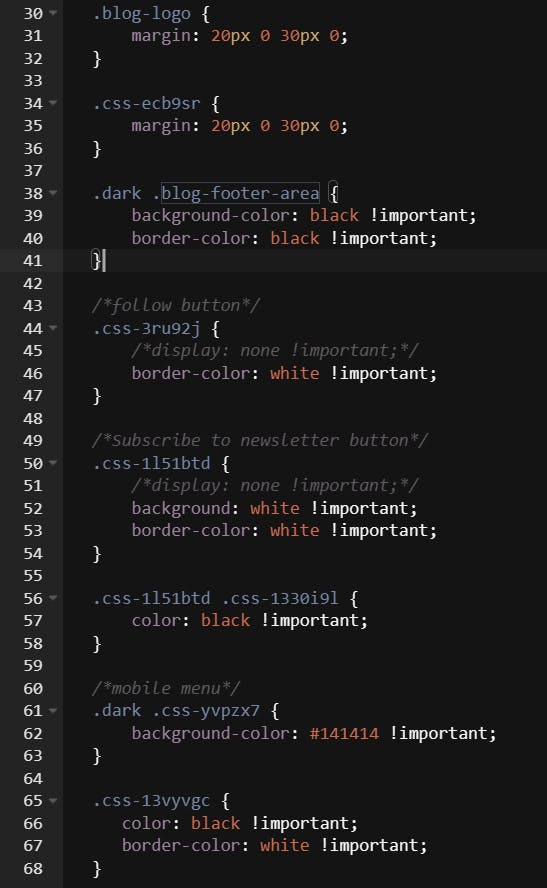
The only complaint I have with Hashnode generally is that the customisation isn't quite what I would like it to be. For example, the logo area in the header has to be (what I consider to be) fairly small dimensions (at 500px X 125px), and with some of the custom CSS, you need to inspect the page and refer to oddly named classes, such as .css-3ru92j - which is fine once you get used to it, I suppose. Example below:
The logo area in the header is so tiny, I've not been able to include my custom logo. Not yet anyway! 😢

I've made do for now with a copy of my Twitter profile title, which I think looks quite cool in this format!

There are a few other little niggles with Hasnode that I suspect are features rather than bugs, but these aren't enough to put me off, as they pale in comparison to how I previously used to work. For example, when you publish a new article you are auto redirected to the public page of said article, and clicking back returns a 404 error page. There are several clicks involved to get back to the dashboard, unless you bookmark it.
Update: Sandeep at Hashnode reached out to me on Twitter and had the above issue resolved - within about an hour of publishing this post. Brilliant work!
How?
How did I migrate?
I honestly thought this was going to be a pain in the backside, but it turned out to be rather simple. As per the below, there's an import option! I used the RSS importer, which ingested the RSS feed from my old blog and saved all my previous articles as drafts. It worked really well, and even included the original publish dates, images, links, tags and canonical URL.
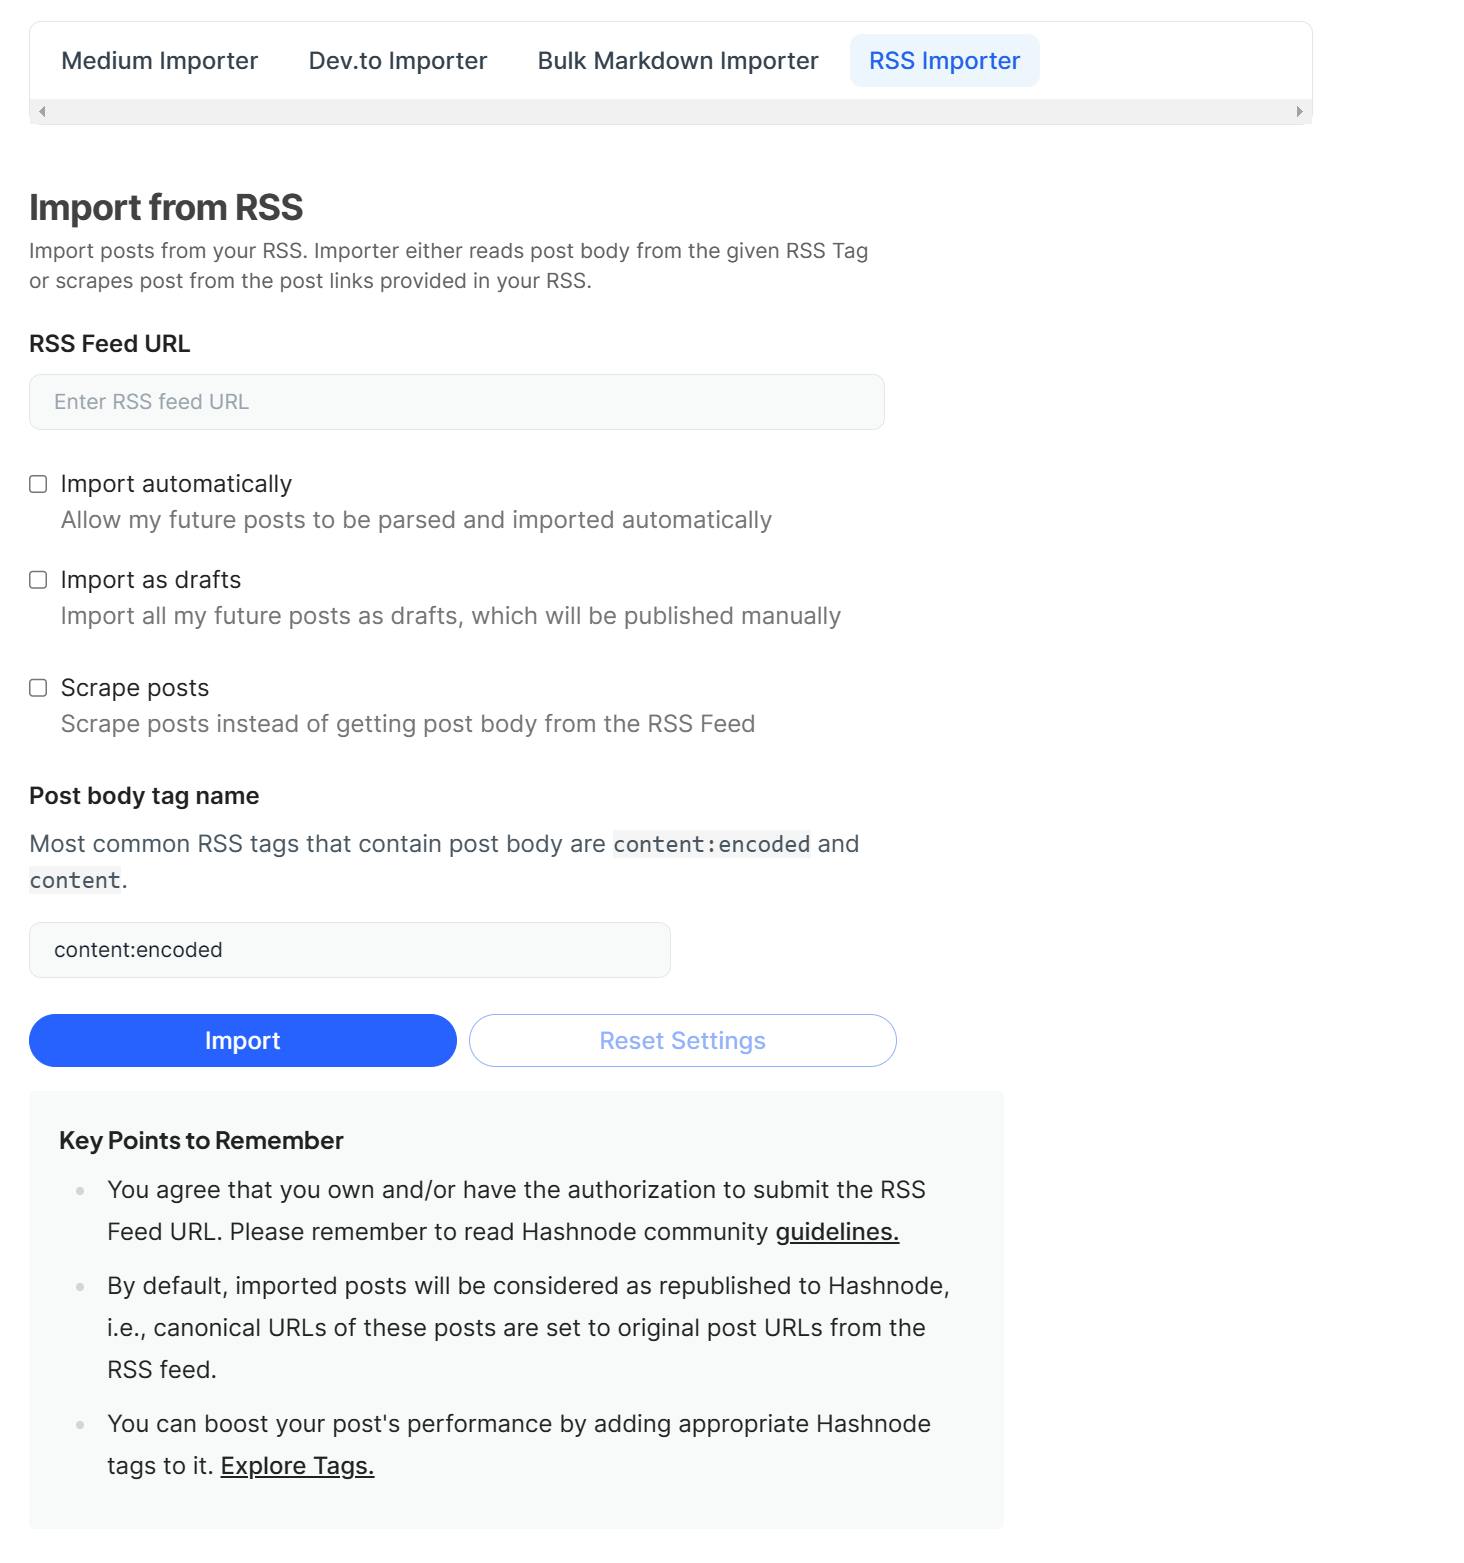
This is literally all it took to migrate over.
Cross-posting
My primary blogging platform is now Hashnode. To reach a wider audience, I intend to cross-post to my profiles over at Medium, dev.to and LinkedIn.
I've set dev.to (extensions page) to automatically ingest the RSS feed from Hashnode, which will save any new posts as drafts (although for some strange reason, some grammar is removed - for example "I've" becomes "Ive").
I plan to try Zapier to automate cross-posting to the other platforms, and will report back how I get on.
How did I host the Jekyll site?
It's dead and gone now, but should you still be using Jekyll and are interested in how I ran it, then read on:
My theme was called Royce, which I had previously purchased and customised in the way of adding custom HTML, CSS and JS.
The theme includes Prism for code formatting, as well as plugins for SEO, pagination, contact forms (via Formspree) and comments (via Disqus).
I wrote everything in VSCode and made use of the below plugins:
As I don't really know Ruby, and didn't fancy installing it locally, and ran a local instance of the blog via Docker Desktop (on Windows). It took a bit of trial and error, so if you are interested in seeing my docker-compose file, I've included it below:
version: '3'
name: jekyll-blog
services:
  site:
    environment:
      - JEKYLL_ENV=docker
      - TZ=Europe/London
    command: jekyll serve --trace --force_polling --livereload --config _config.yml,_config.docker.yml # --drafts (to show drafts)
    image: jekyll/jekyll:4.2.2
    volumes:
      - .:/srv/jekyll
    ports:
      - 4000:4000
      - 35729:35729
Note that I also had to create a new file called _config.docker.yml in the root directory, which contained the below, for this to work. Once the container is running, you would access it on http://localhost:4000.
url: "http://localhost:4000"
For CI/CD, I saved the code to a private GitHub repo, which I then linked to Netlify.
I linked the main and dev branches of the repo to my Netlify account, and also linked my custom domain name to it. A Netlify build pipeline was auto-triggered on a commit to a linked branch. This pipeline both built and published the Jekyll site files for me, all within Netlify itself. It was effectively free hosting for this site, as well as the pipeline runs. If you've not used it before, I'd say it's certainly worth a look.
Summary
The Jekyll version of my site was all good and well, but just a bit too fiddly for my liking. By moving to Hashnode, I've cut out all the faff, so I can focus on the writing experience without having to worry about the likes of Ruby, Docker or Markdown.
So that's it - my website is now running on Hashnode, and so far, I'm really happy with it.
Let me know what you think!